Storc Cloud is live. Sign up at app.storc.cloud, start on the Free plan and your first month includes $5 of usage. Your first server, ready in 5 minutes.
This post walks through the whole path, from creating your account to shutting your server down, and ends with what hourly billing means in practice.
1. Create your account
Go to app.storc.cloud, sign up and create your organisation. Every resource you create belongs to that organisation, and you can invite teammates later.
2. Pick your plan
You start on Free: $5 of usage in your first month, then $1 a month, with servers up to 1 vCPU and 512 MB of memory. It’s enough to try things out and to publish a web app on your own domain over HTTPS.
When you need more, pick a paid plan. A plan sets your limits and comes back to you as usage credit every month; servers are metered by the hour against it.
- Hobby, $5 a month, for solo projects: $5 of usage included every month, public IPv4 addresses and up to 12 vCPU and 24 GB of memory in total.
- Pro, $20 a month, for teams: $20 of usage included every month, unlimited team members and up to 24 vCPU and 48 GB of memory in total.
- Enterprise, for organisations that need a monthly commitment, single sign-on and dedicated support: talk to us.
Usage beyond the included credit is billed at the same rate on your next invoice, and unused credit doesn’t roll over. The pricing section has every plan side by side.
3. Spin up your server
Create a server: give it a name, pick a region, choose a preset size or set your own vCPU and memory, select an image and add your SSH key. Tags, a private network, a public IP and a firewall are set in the same step. Don’t have a private network yet? A default one is created with your server.
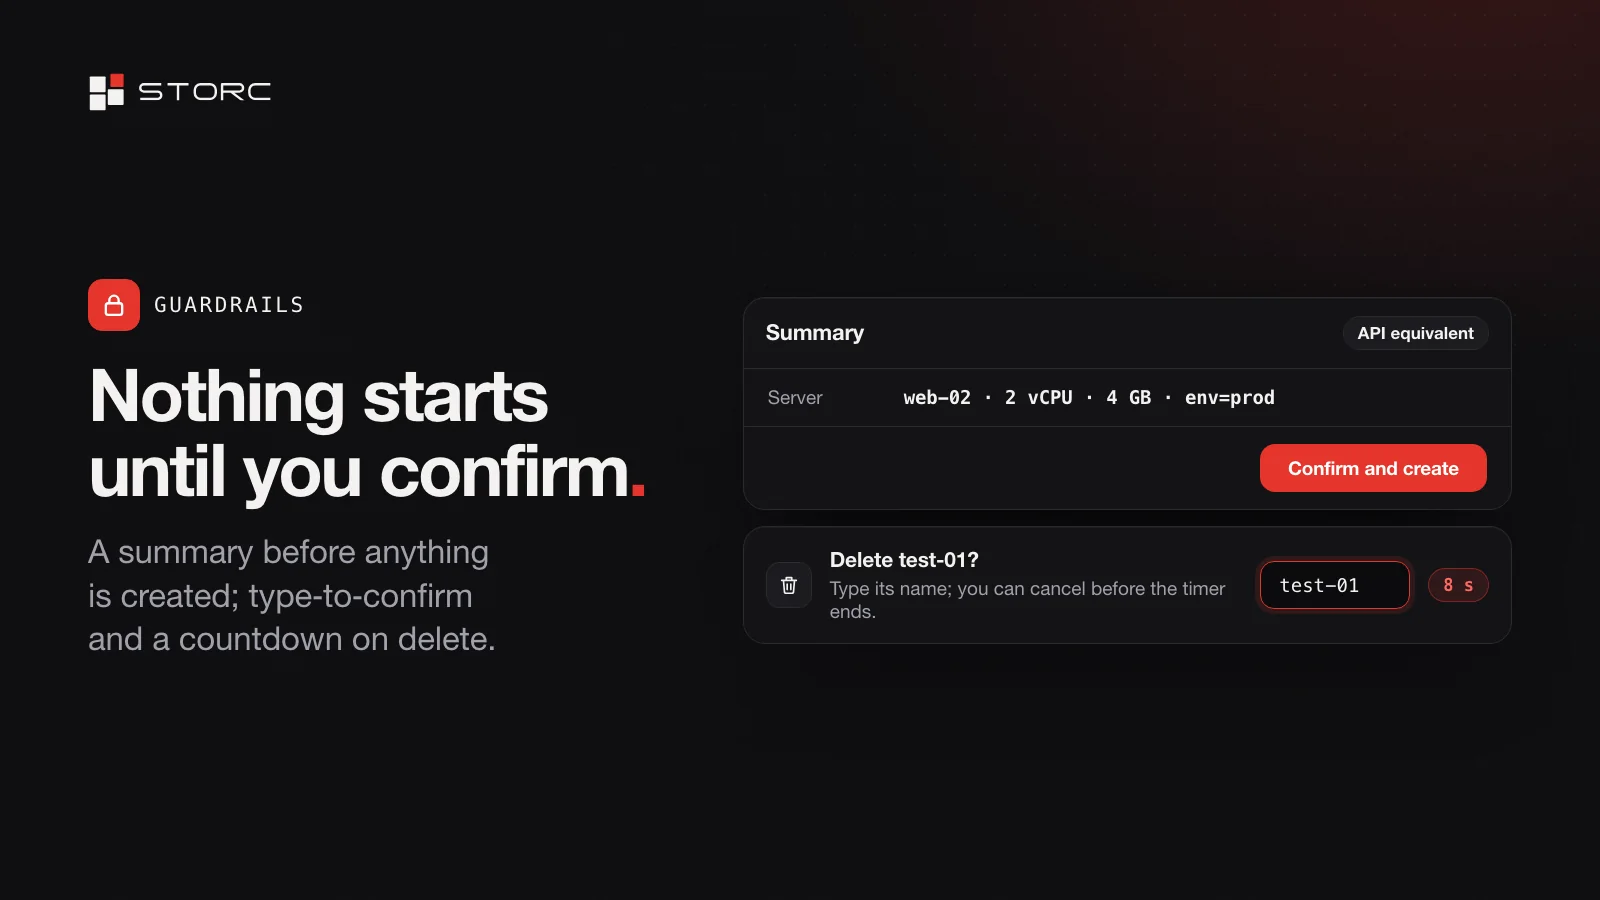
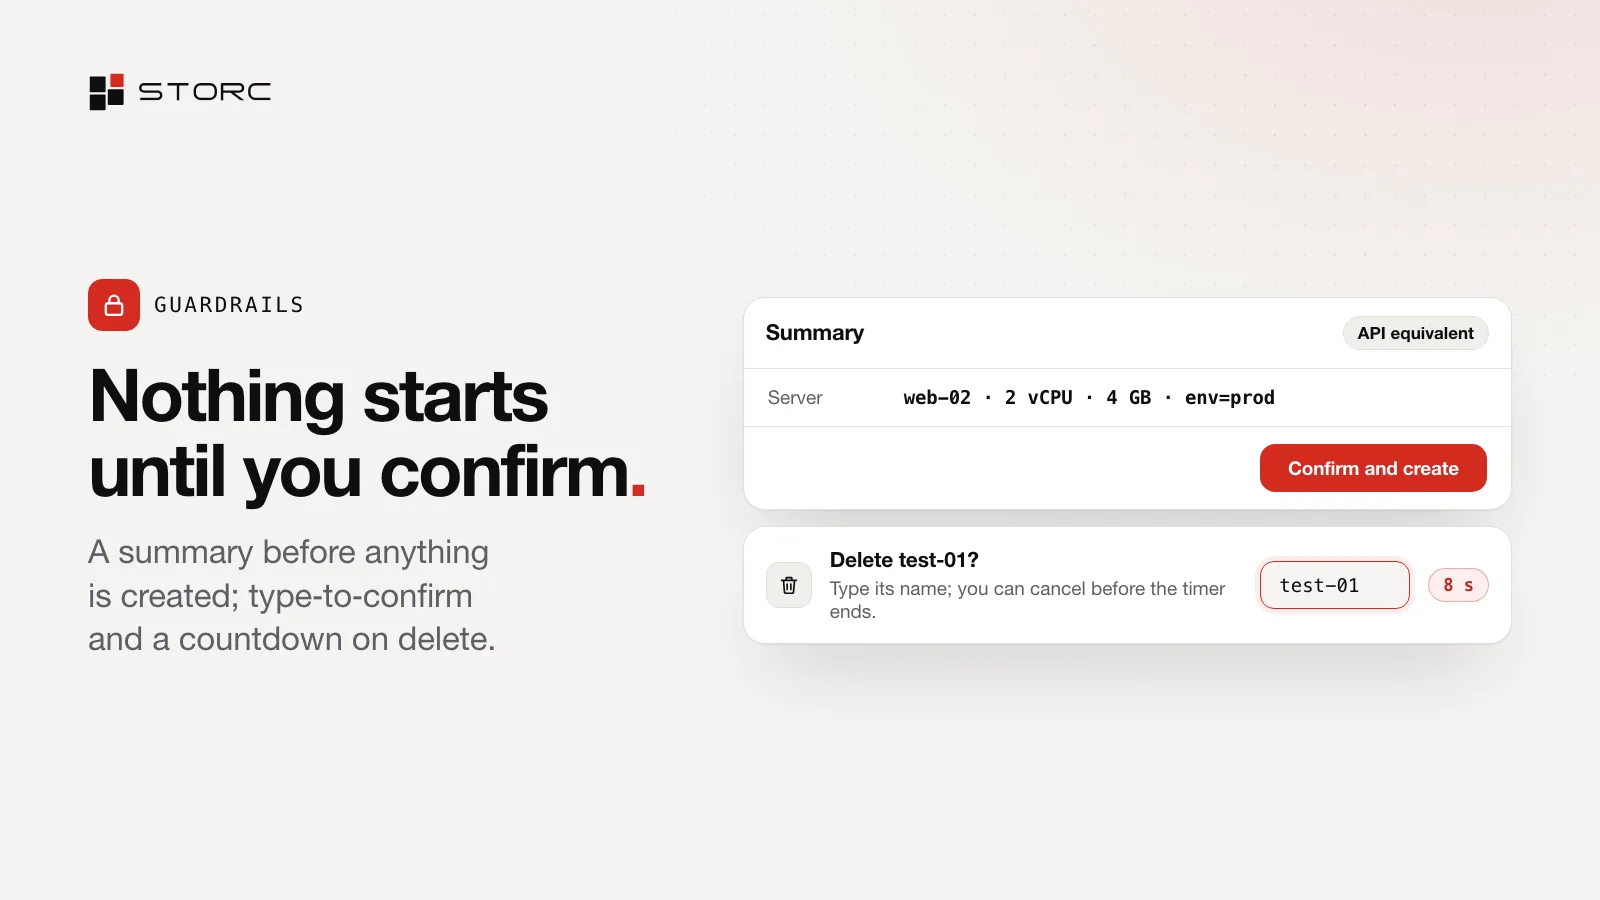
Before anything is created, you see a summary and the matching API call; nothing starts until you confirm. Review the summary, confirm and connect.
When the server is running, its connection details are in the console. No SSH key? The console password is shown once, and the browser console gets you in over serial or VNC. Start, stop and restart run as jobs you can follow in the console.
Next, take care of two things:
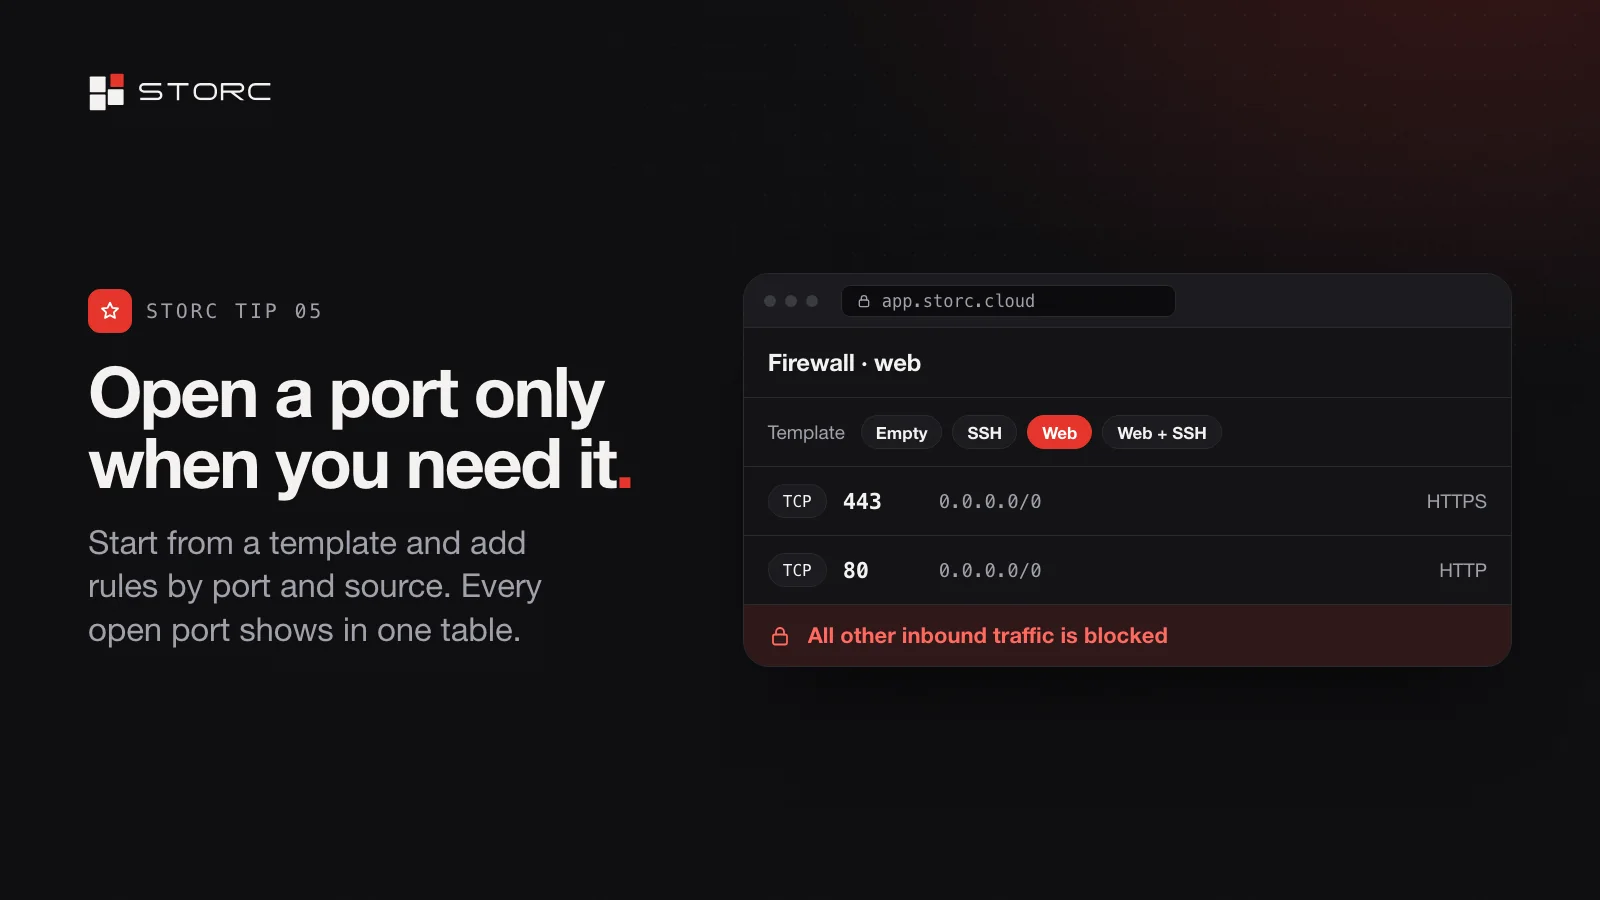
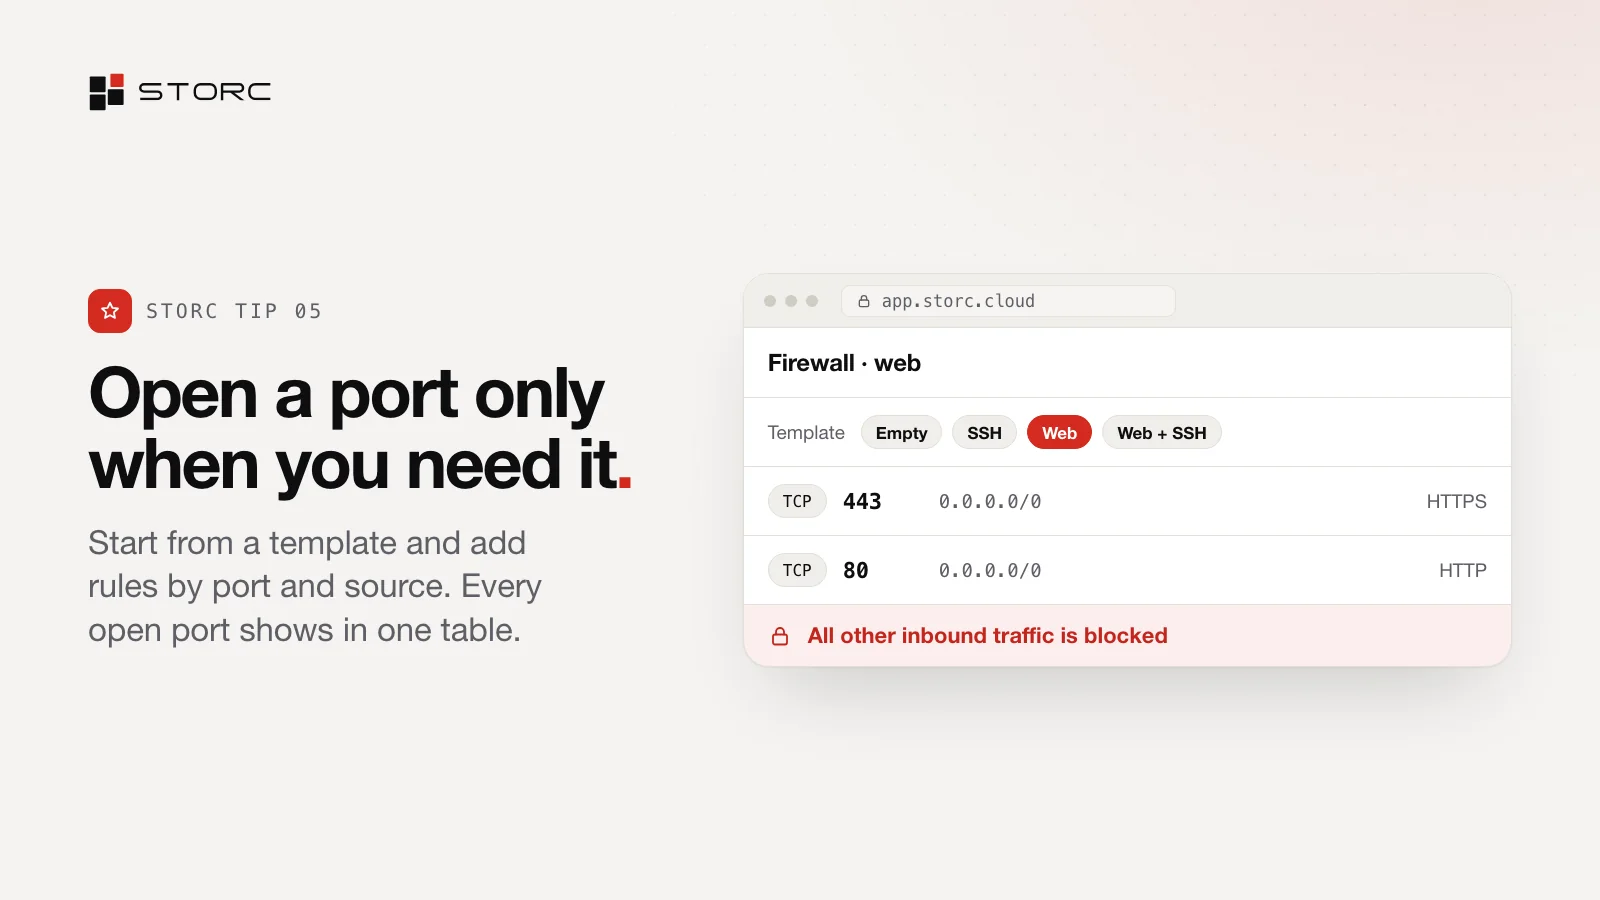
- Set up your firewall. With no firewall, inbound traffic is closed, and a server with a public IP needs at least one. Start from a template (SSH, Web or Web + SSH) and open only the ports you need. How firewalls work in Storc goes deeper.
- Point your domain at it. Edit your DNS records right in the console: add an A record that points to the server’s public IPv4 address. Or publish through the load balancer: point a CNAME at it, and HTTPS is set up for you.
4. Bring in your team
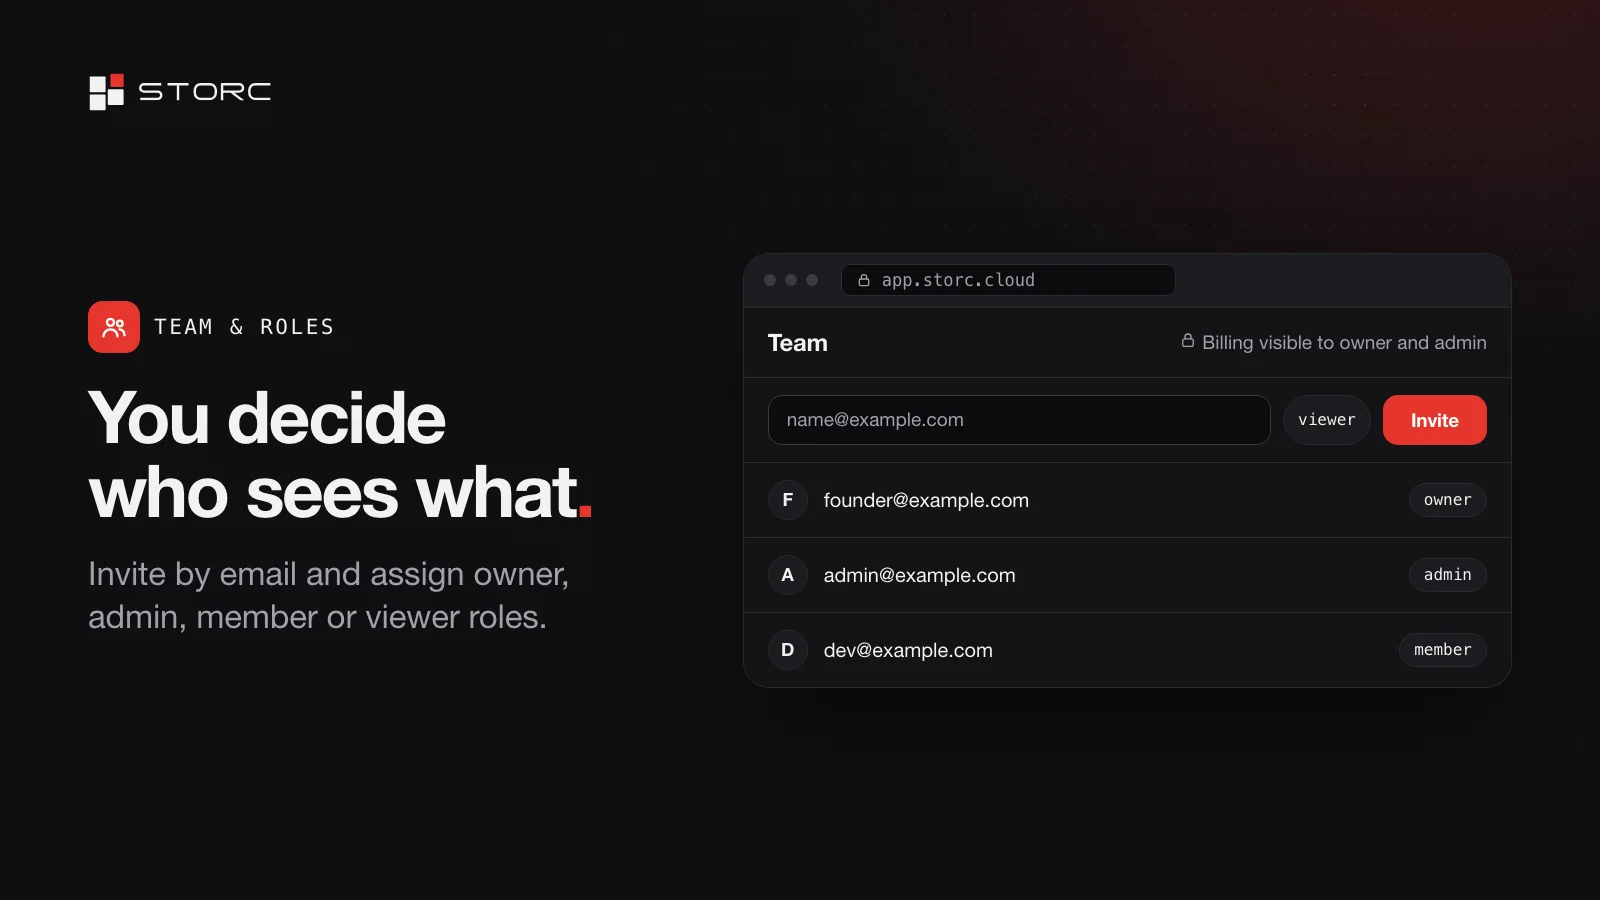
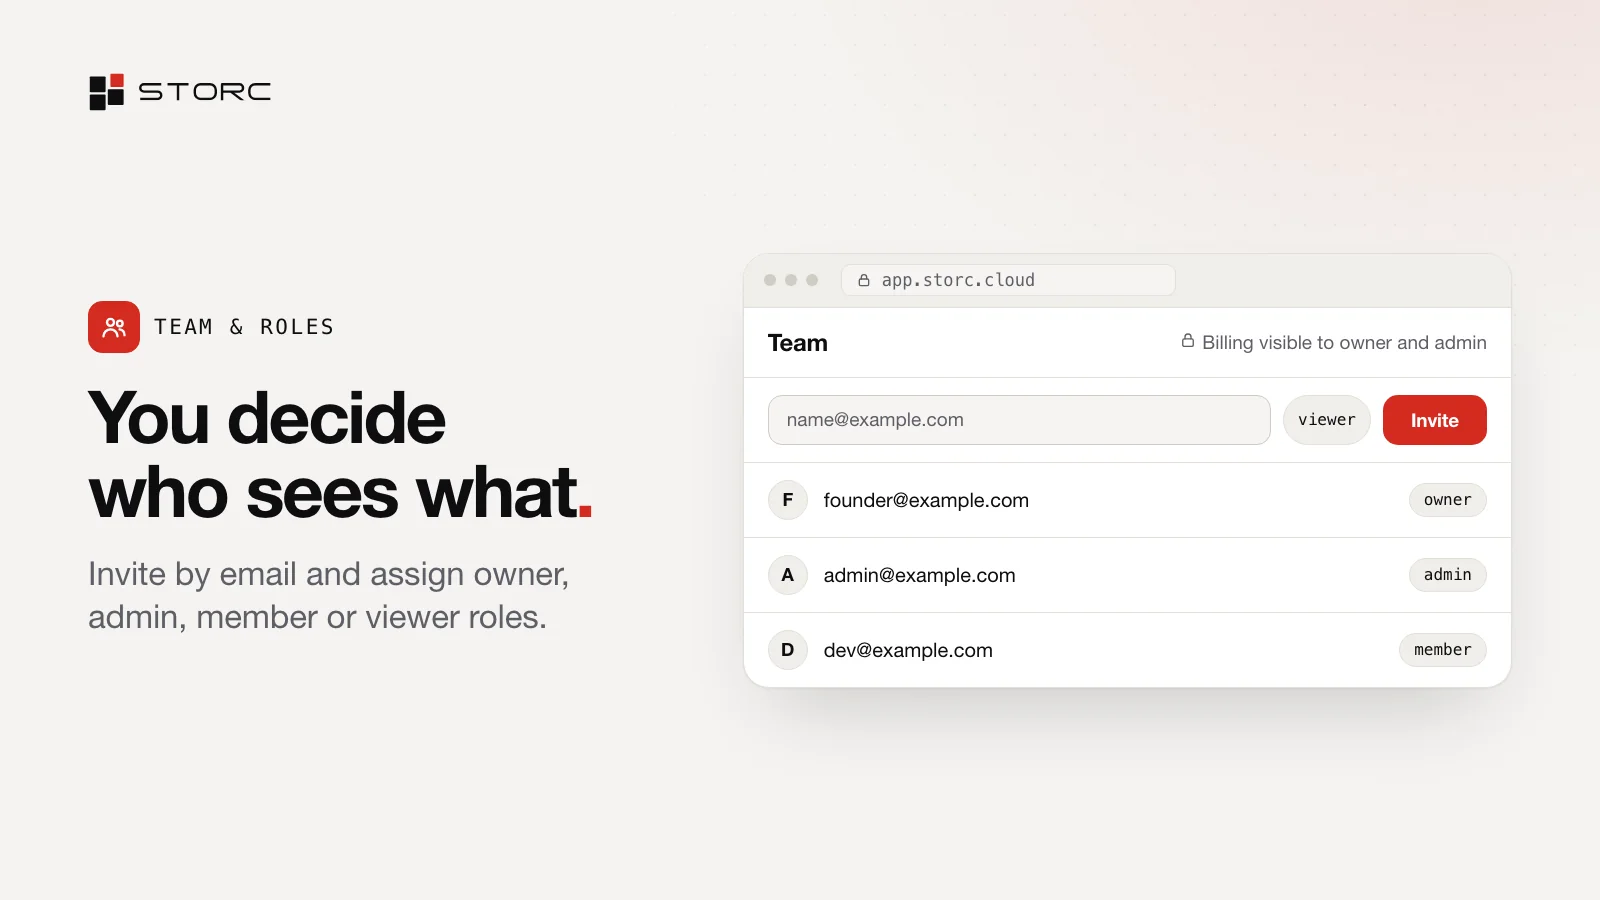
Invite teammates by email and give each one a role: owner, admin, member or viewer. Owners and admins see billing, and only the owner can change the plan. Free and Hobby are for one person; Pro has no seat limit.
Every action lands in the activity log: when, who, what happened and to which resource. For automation, create an API token with only the access the job needs: a name, a role and a read or write scope. You can see who created each token and when it was last used. The secret is shown once, and revoking a token takes effect immediately.
5. Shut it down when you’re done
Usage is metered by the hour. Test server stopped? So are its CPU and memory charges; disk and public IPv4 addresses are still billed. For test environments, make it a habit: spin it up, run your tests, shut it down.
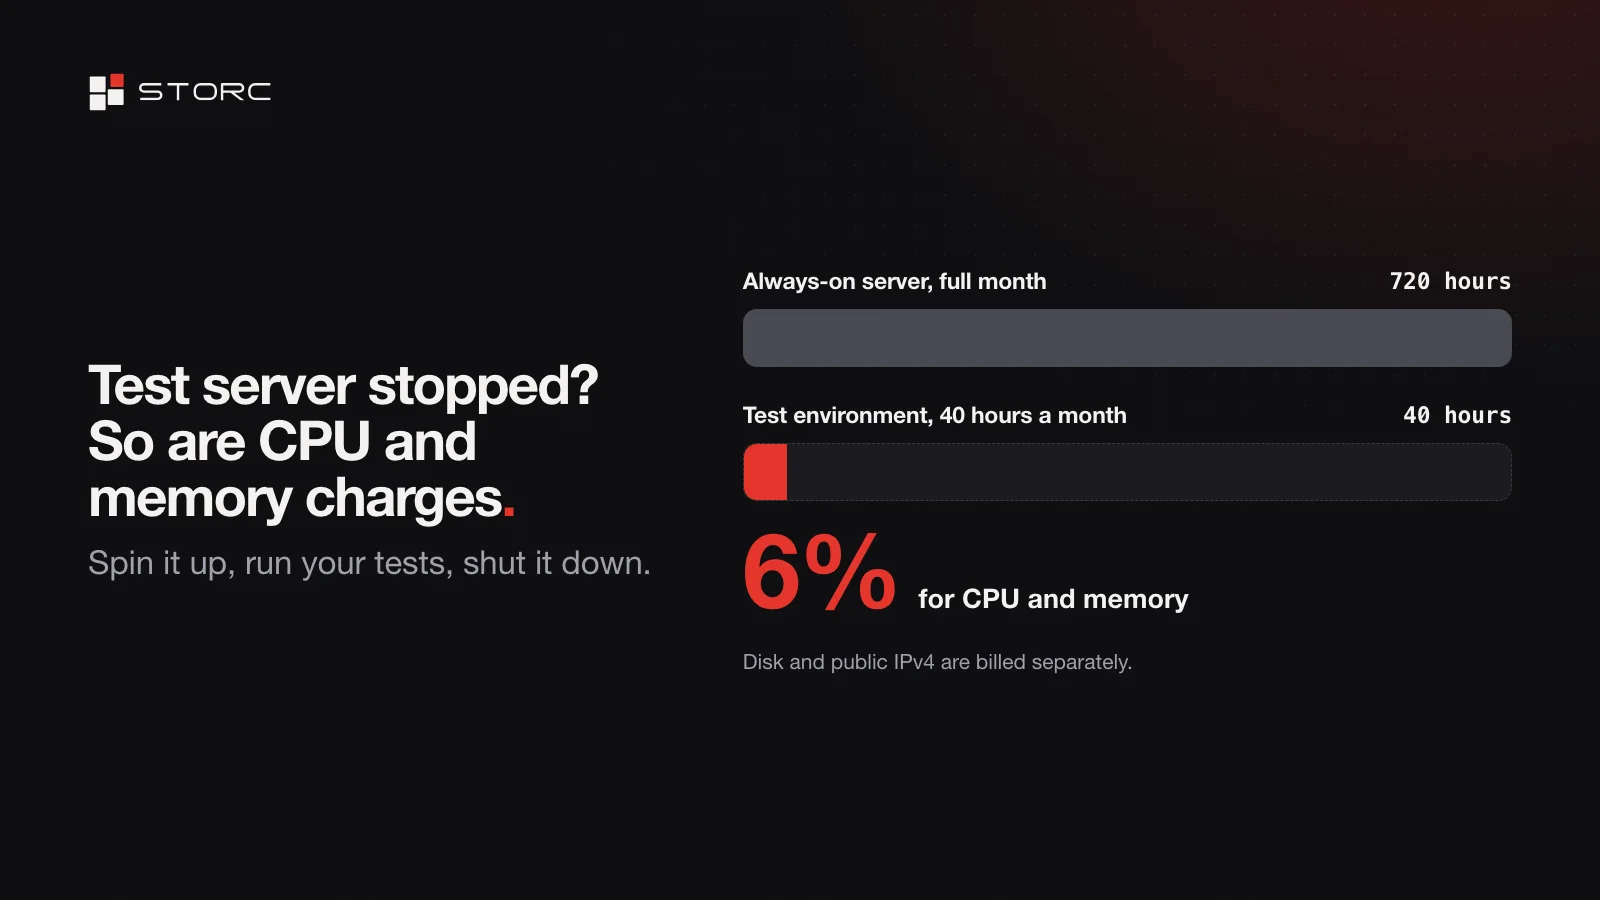
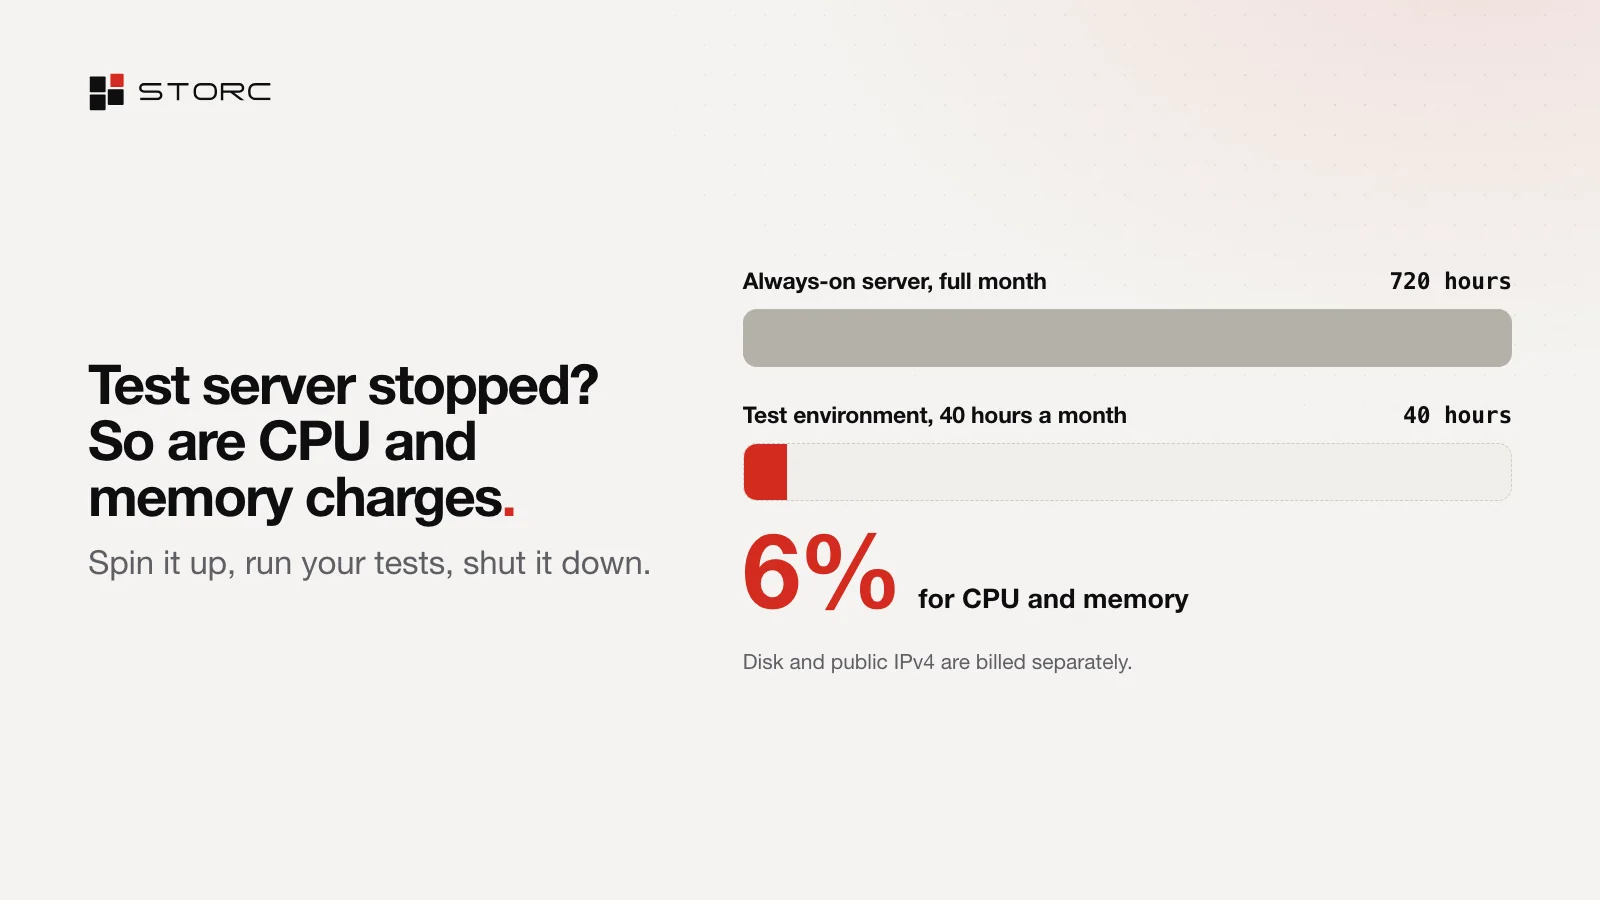
An example: for CPU and memory, a test environment that runs 40 hours a month pays about 6% of what the same server costs when it runs all month (40 of 720 hours). Hourly billing, explained has the full breakdown.
Done with a server for good? Deleting it asks you to type its name and then starts a countdown; you can cancel until it runs out.
What’s next
Once your first server is running, the rest is in the same console: S3-compatible object storage, managed Kubernetes, load balancers and DNS. As you grow, Storc BOS connects your own servers to the same console, so you grow without replatforming.
Questions? Find us on Discord at discord.gg/3ZVsBg4REb, or start now at app.storc.cloud.